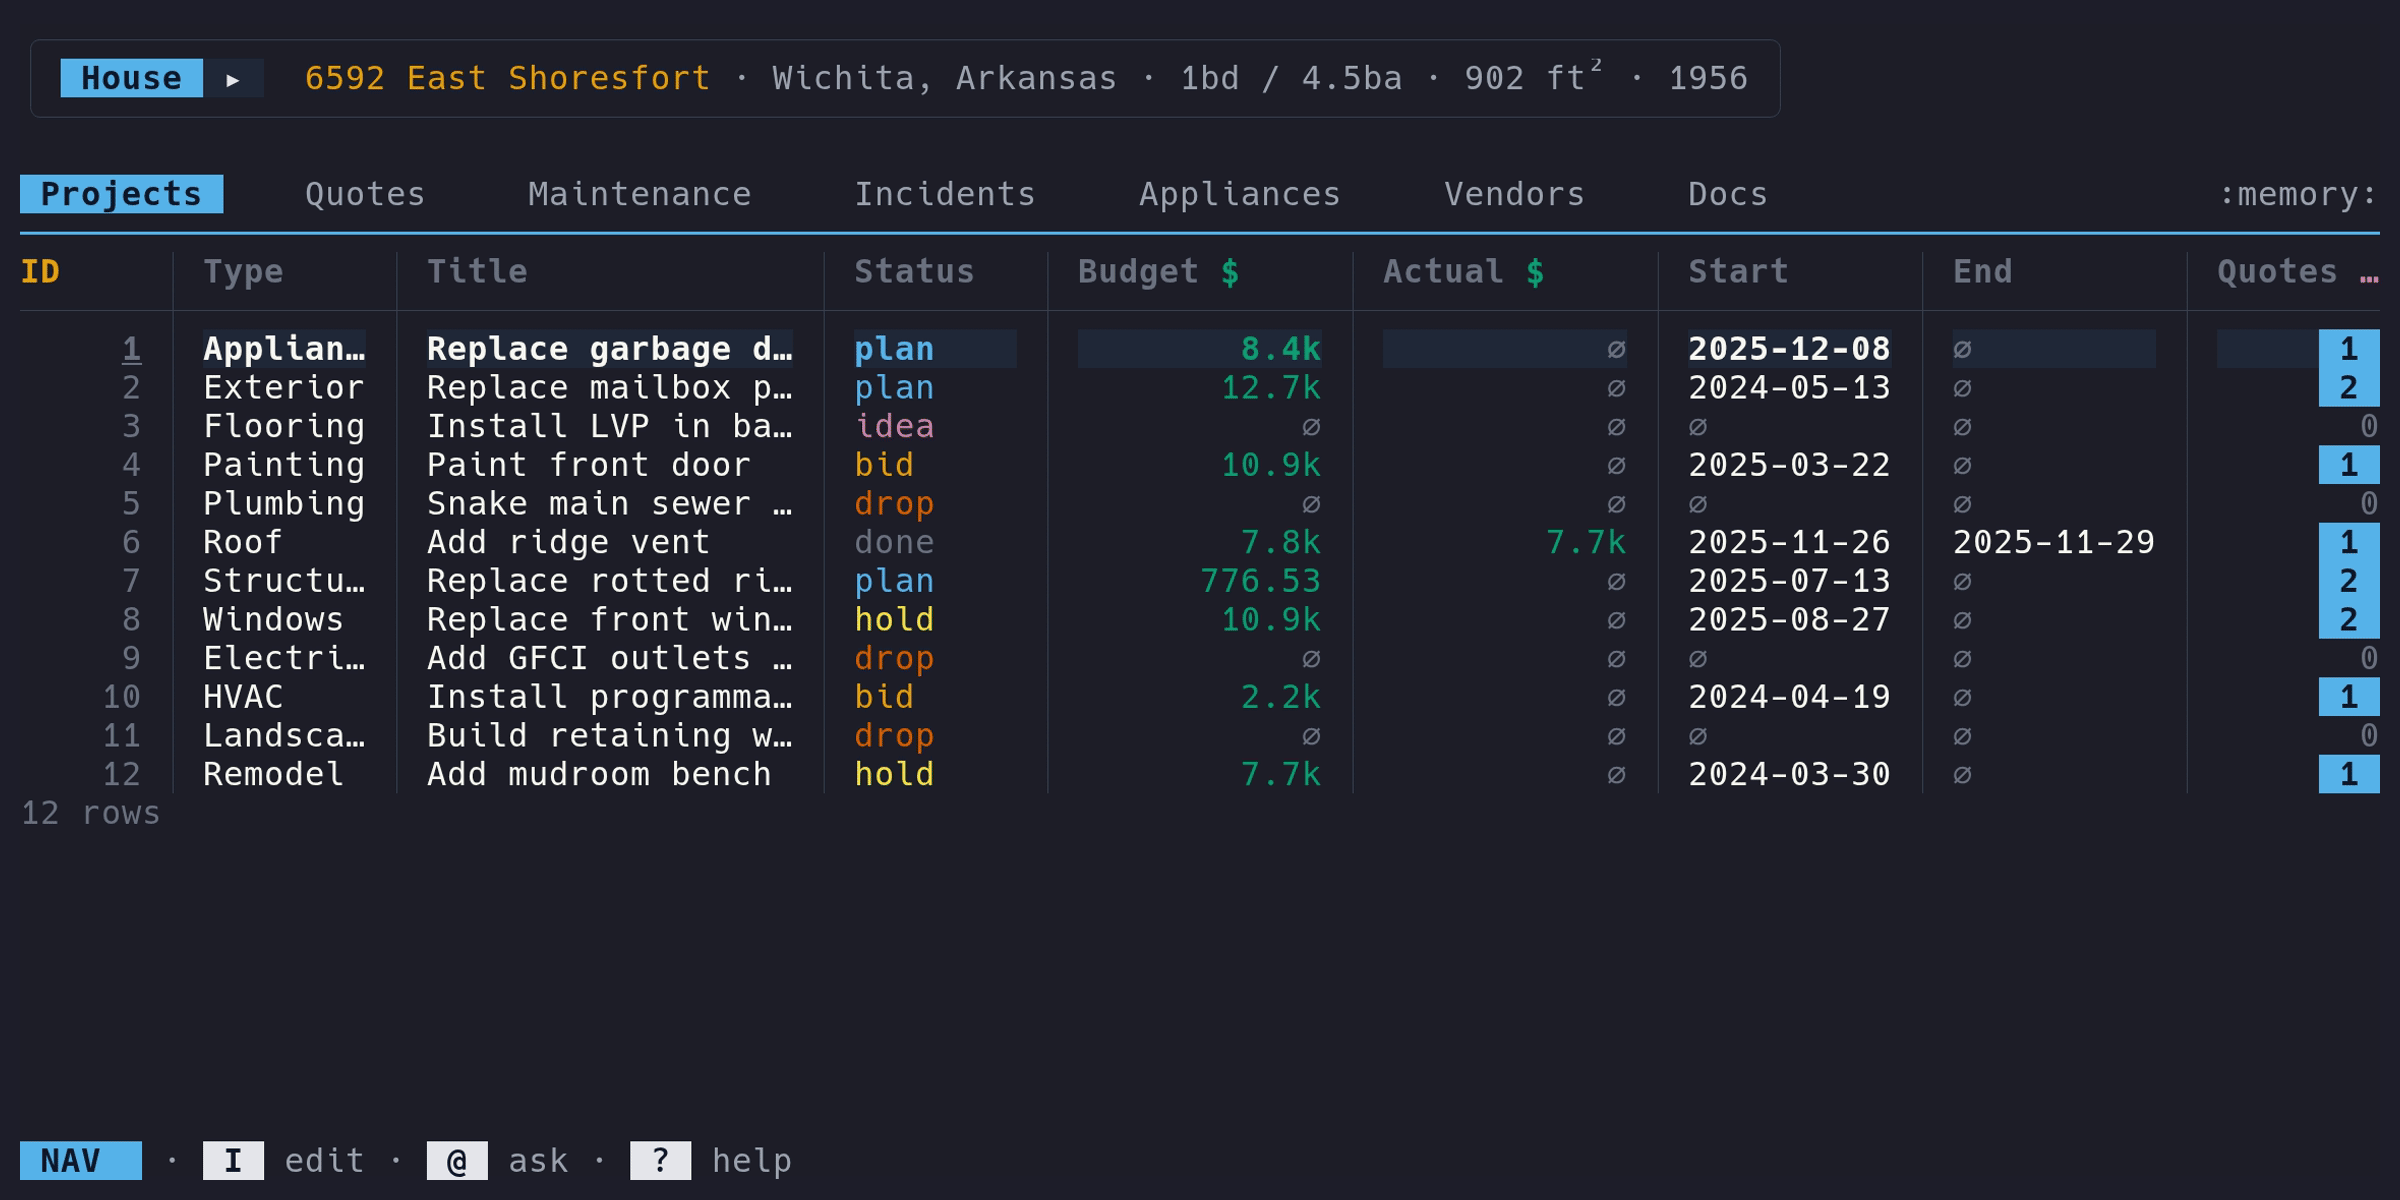
Projects
Track planned and in-progress work on your house.
Adding a project#
- Switch to the Projects tab (f to cycle forward)
- Enter Edit mode (i)
- Press a to open the add form
- Fill in the fields and save (ctrl+s)
The Title field is required. Everything else is optional or has a default.
Fields#
| Column | Type | Description | Notes |
|---|---|---|---|
ID | auto | Auto-assigned primary key | Read-only |
Type | select | Project category | Pre-seeded types (Renovation, Repair, etc.) |
Title | text | Project name | Required |
Status | select | Lifecycle stage | See status lifecycle below |
Budget | money | Planned cost | Formatted in your configured currency (e.g., 1250.00) |
Actual | money | Real cost | Over-budget is highlighted on the dashboard |
Start | date | Start date | Date input |
End | date | End date | Date input |
Quotes | drill | Number of linked quotes | Press enter to view linked quotes |
Docs | drill | Number of linked documents | Press enter to view linked documents |
Status lifecycle#
Projects move through these statuses. Each has a distinct color in the table:
- ideating – just an idea, not committed
- planned – decided to do it, working out details
- quoted – have vendor quotes, comparing options
- underway – work in progress
- delayed – stalled for some reason
- completed – done
- abandoned – decided not to do it
Settled filter#
In Nav mode on the Projects tab, press t to toggle hiding settled
projects (completed + abandoned). A ◀ triangle appears to the right of
the tab when the filter is active.
Description#
The edit form includes a Description textarea (in the “Timeline” group) for
longer notes about the project. The description is stored on the project record
but doesn’t appear as a table column.
Inline editing#
In Edit mode, press e on any non-ID column to edit just that cell inline.
Press e on the ID column (or any read-only column) to open the full edit
form, which includes the description field. Press E from any column to jump
straight to the full form.
Linked quotes#
The Quotes column shows how many quotes are linked to this project. In
Nav mode, press enter to drill into a detail view of those quotes.
On the Quotes tab, the Project column links back – press enter to jump
to the project.