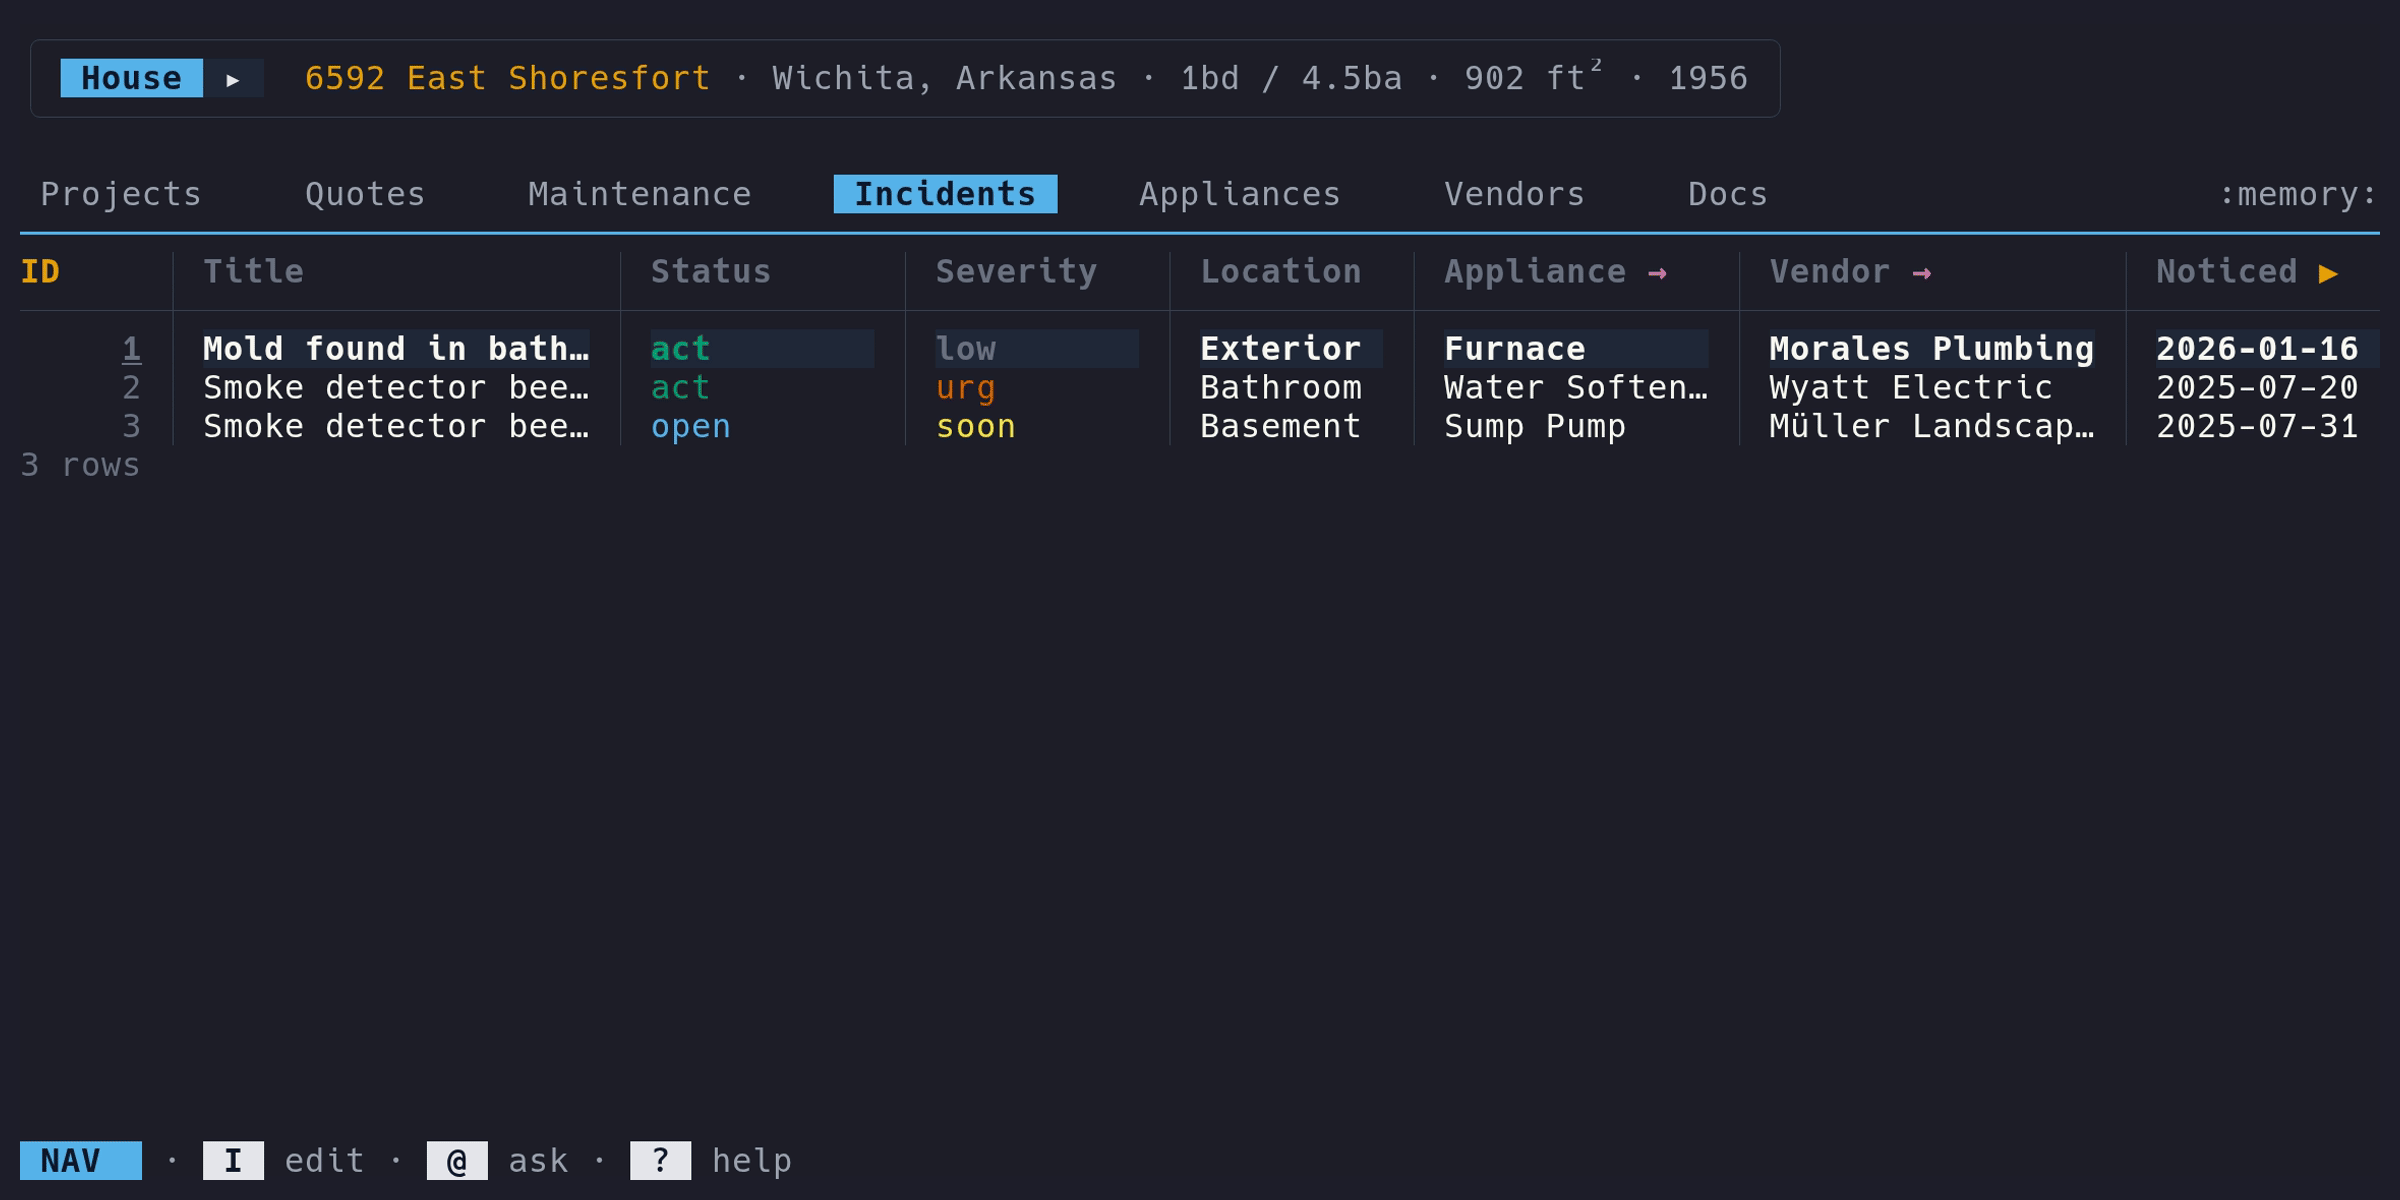
Incidents
Log and track household issues as they arise.
Adding an incident#
- Switch to the Incidents tab
- Enter Edit mode (i), press a
- Fill in the form
Only Title, Status, and Severity are required.
Fields#
| Column | Type | Description | Notes |
|---|---|---|---|
ID | auto | Auto-assigned | Read-only |
Title | text | Short description | Required |
Status | select | Current state | open, in_progress, or resolved |
Severity | select | How urgent | urgent, soon, or whenever |
Location | text | Where in the house | E.g., “Kitchen”, “Roof” |
Appliance | link | Related appliance | Optional. Press enter to jump to the appliance |
Vendor | link | Assigned vendor | Optional. Press enter to jump to the vendor |
Noticed | date | When discovered | Date input |
Resolved | date | When fixed | Date input. Only shown on the edit form |
Cost | money | Repair cost | Formatted in your configured currency |
Docs | drill | Document count | Press enter to view linked documents |
Resolving incidents#
Press d in Edit mode to resolve an incident. This sets the status to
resolved and marks the row as deleted. Resolved incidents appear with
strikethrough styling. The Incidents tab shows resolved items by default so
you can see your full history.
To reopen a resolved incident, press d on it again.
Permanently deleting incidents#
Press D in Edit mode to permanently delete an incident. A confirmation prompt appears before the row and its linked documents are removed from the database. This cannot be undone.
Dashboard#
Open incidents appear in the Dashboard’s “Open Incidents” section, ordered by severity (urgent first). Press enter on a dashboard row to jump to that incident in the table.
Inline editing#
All columns except ID and Docs support inline editing. Press e in Edit
mode on a cell to edit just that field. Press E from any column to open the
full edit form.